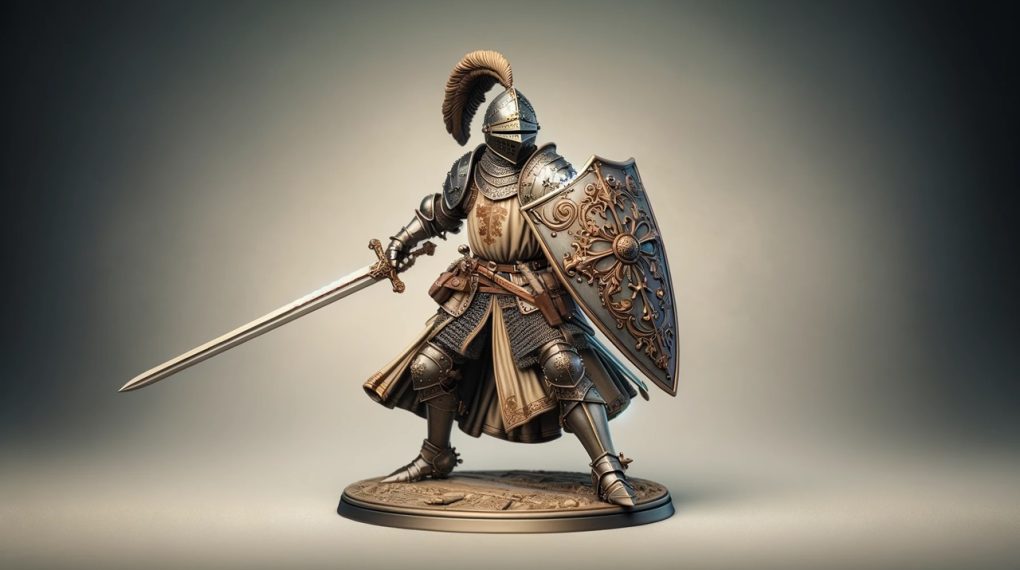
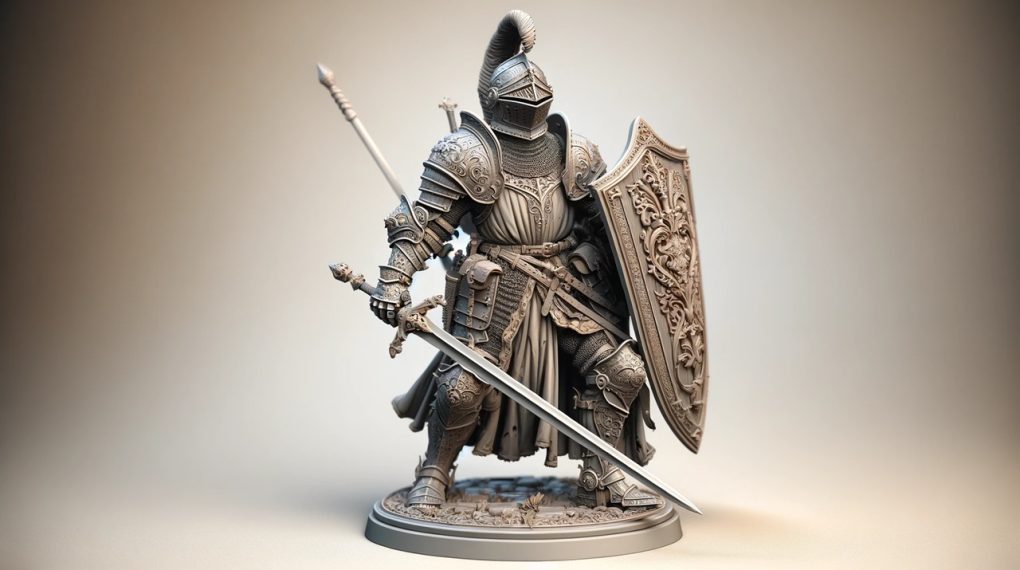
Welcome to the world of 3D printing! In this guide, you’ll learn how to sand 3D printed miniatures to achieve a smooth, professional finish. Sanding is a crucial step in the post-processing of 3D prints, particularly miniatures, where details matter.

Understanding the Basics of Sanding 3D Printed Miniatures
Before you begin, it’s important to understand why sanding is essential for 3D printed miniatures. Sanding helps remove layer lines, improves the surface finish, and prepares your miniature for painting or other finishing techniques.
Step 1: Gather Your Tools & Materials
First, assemble the necessary tools and materials needed for this task…
1. Fine-Grit Sandpaper (200 to 600 Grit)
Purpose: The range of sandpaper grit is essential for achieving a smooth finish. Start with lower grits (200-300) to remove larger imperfections and gradually move to higher grits (up to 600) for fine finishing.
Tip: Keep a variety of grits on hand. Different stages of sanding will require different levels of abrasiveness.
2. A Small Bowl of Water (For Wet Sanding)
Purpose: Wet sanding is crucial for minimizing dust and achieving a finer finish. The water acts as a lubricant, reducing scratches on the surface of your miniature.
Tip: Change the water regularly to keep it clean and effective during the wet sanding process.
3. Soft Brushes or Cloths for Dust Removal
Purpose: After dry sanding, dust particles can cling to the miniature. Soft brushes or cloths are used to gently remove this residual dust without scratching the surface.
Tip: Microfiber cloths are particularly effective for dust removal due to their fine fibers.
4. Protective Gear (Mask and Gloves)
Purpose: Safety is paramount. A mask prevents inhalation of fine plastic particles, while gloves protect your hands from abrasion and keep the miniature clean from oils on your skin.
Tip: Ensure the mask fits snugly and is rated to filter out fine particles. Nitrile or latex gloves offer good dexterity for detailed work.
Additional Considerations:
Work Area Preparation: Choose a well-ventilated and well-lit area to work in. Good lighting is essential for spotting imperfections, and ventilation is important for health and safety.
Organizing Materials: Keep your sanding materials organized. This not only makes the process more efficient but also ensures that you have everything you need at hand.
Step 2: Initial Sanding
Do the following…
Gentle Sanding Motion: Begin with gentle, circular motions. This helps in evenly distributing the pressure and avoids creating new scratches or gouges in the material. It’s important to sand consistently over the entire surface to maintain uniformity.
Applying Minimal Pressure: Excessive force can damage the intricate details of your miniature. Let the abrasive nature of the sandpaper do the work.
If you’re applying too much pressure, the sandpaper might remove more material than desired, ruining the fine details that give your miniature its character.
Identifying Imperfections: Before you start sanding, examine your miniature closely to identify the areas with the most prominent layer lines or rough spots. These are your primary focus during the initial sanding stage.
Progressive Sanding: Start with the most prominent imperfections. As these begin to smooth out, gradually expand your sanding to less noticeable areas. This step-by-step progression ensures a balanced approach, preventing over-sanding of any single area.
Check Your Progress: Frequently stop and check your progress. Look at the miniature from different angles under good light to ensure you’re achieving a uniform smoothness without flattening out any detailed areas.
Clean as You Go: Use a soft brush or cloth to remove dust build-up periodically. This not only keeps your working area clean but also allows you to see the true progress of your work without the interference of dust particles.
Step 3: Wet Sanding for Smoother Finish
Follow these steps…
Transition to Higher Grit Sandpaper (400-600 Grit): After addressing the larger imperfections with lower grit sandpaper, it’s time to move to higher grits. These finer grits are less abrasive and perfect for refining the surface texture of your miniature.
Use of Water: Wet sanding involves dipping your sandpaper in water before use. The water acts as a lubricant, reducing friction and the heat generated by sanding. This not only protects the delicate layers of your miniature but also contributes to a smoother finish.
Gentle Circular Motions: Continue using gentle, circular motions. This method is effective in achieving an even, smooth surface without creating new scratches.
Regular Dipping: Keep dipping the sandpaper in water frequently. This ensures the sandpaper remains clean and effective. The water washes away the dust and particles that accumulate during the sanding process.
Finer Finish: Wet sanding is crucial for achieving a finer finish. It smooths out the tiny scratches left by the dry sanding process, giving your miniature a more polished look.
Dust Reduction: One of the significant benefits of wet sanding is the reduction of dust. This not only makes the process cleaner but also safer, as it minimizes the inhalation of fine plastic particles.
Regular Checks: Frequently check the surface of your miniature to monitor your progress. The goal is to achieve a uniformly smooth surface without over-sanding any area.
Cleaning the Surface: Between sanding intervals, gently rinse or wipe the surface of the miniature to remove any residue. This will give you a clearer view of the surface condition and help in identifying any areas that need further attention.
Avoid Over-Sanding: Be careful not to over-sand. Over-sanding can remove too much material, especially on finer details, and can weaken the structure of the miniature.
Handling and Safety: Continue to handle the miniature gently and keep wearing protective gear. Although wet sanding reduces dust, it’s still important to safeguard against any potential irritants.
Step 4: Detail Sanding
Do the following…
Identify Detailed Sections: Before you start, closely examine your miniature to identify its most intricate areas. These could be fine lines, delicate features, or textured surfaces that require special attention.
Use of Finer Grit Sandpaper: For these delicate areas, it might be necessary to use even finer grit sandpaper. Consider using 600 grit or above, especially if the miniature has very detailed work.
Gentle Touch: When sanding these detailed areas, use a very light touch. The goal is to smooth out imperfections without flattening or erasing the fine details that give your miniature its unique character.
Small, Precise Movements: Instead of broad, circular motions, use smaller, more precise strokes. This allows for greater control and helps in targeting specific areas without affecting the surrounding details.
Take Your Time: Detail sanding is a slow and patient process. Rushing through this step can result in accidentally removing or damaging the delicate parts of your miniature.
Frequent Pauses for Inspection: Regularly pause to inspect your work. This not only helps in checking your progress but also ensures that you are not over-sanding any area.
Sanding Tools: For extremely fine details, consider using specialized sanding tools like sanding needles or sticks that can reach tiny nooks and crannies.
Magnification: Using a magnifying glass or a head-mounted magnifier can greatly aid in seeing and working on very small details accurately.

Step 5: Final Inspection and Cleaning
Do the following…
Check for Missed Spots: Carefully examine the entire surface of your miniature. Look for any areas that might have been missed during the sanding process. Pay special attention to crevices and hidden spots that are easy to overlook.
Identify Rough Areas: Feel the surface with your fingers to detect any rough patches that might still be present. These areas will need additional sanding to ensure a uniformly smooth finish.
Use Adequate Lighting: Good lighting is essential for a thorough inspection. Bright, direct light can reveal imperfections that might be missed under normal lighting conditions.
Soft Brush or Cloth: Gently brush off the dust from the surface using a soft brush. For intricate areas, a smaller brush, like a makeup brush or a fine paintbrush, can be more effective.
Wipe with a Damp Cloth: After brushing, lightly wipe the miniature with a damp cloth. This helps in picking up any remaining dust particles and provides a clean surface for further finishing.
Avoid Water Damage: Be cautious not to use too much water, especially if your miniature is made from materials that are sensitive to moisture. A lightly dampened cloth is sufficient.
Dry Completely: Ensure that the miniature is completely dry before moving on to painting or applying other finishing touches. Any residual moisture can affect the application of paint or varnish.
Final Touches: If you plan to paint the miniature, consider applying a primer first. This can help in achieving a more even and long-lasting paint job.
Careful Handling: After cleaning, handle the miniature carefully to avoid fingerprints or accidental damage, especially if it has intricate details.
Proper Storage: If you’re not moving directly to painting or finishing, store your miniature in a safe, dust-free environment. This helps in keeping it clean and ready for the next steps in your project.
By following these steps for the final inspection and cleaning, you ensure that your miniature is impeccably prepared for painting or any other finishing process.
This attention to detail in the final stages of sanding plays a significant role in the overall quality and appearance of your finished product.
For more articles on sanding, click here: Sanding: Your Full-Circle Guide to Smooth Mastery
Conclusion: How to Sand 3D Printed Miniatures
In conclusion, the process of sanding 3D printed miniatures is both an art and a science, requiring patience, attention to detail, and a methodical approach.
From the initial gathering of materials to the final inspection and cleaning, each step plays a critical role in transforming a raw 3D print into a refined and polished masterpiece.
Starting with coarse-grit sandpaper to address the larger imperfections and gradually moving to finer grits for wet sanding allows for a progressive smoothing of the miniature’s surface.
Detail sanding is particularly crucial, as it brings out the fine features and textures that give the miniature its character. Throughout the process, it’s important to maintain a gentle touch and regularly check your work to ensure a consistent and smooth finish.
The final inspection and cleaning are vital in preparing the miniature for painting or other finishing touches. This stage ensures that all your hard work in sanding is preserved and that the miniature is in its best possible state for further enhancement.
Sanding 3D printed miniatures may seem daunting at first, but with practice, it becomes a rewarding part of the 3D printing hobby. The skills learned in this process not only improve the aesthetics of your miniatures but also enhance your overall craftsmanship.
Whether you are a hobbyist or a professional, the ability to effectively sand and finish 3D printed objects is a valuable skill that elevates the quality of your work and brings your creative visions to life.